说在前面
svelte 不知道大家有没有了解过,最近一次偶然刷文章,看到一篇《都快2020年,你还没听说过SvelteJS?》 [0] 的文章,看了svelte与其他框架的对比
svelte 中文 doc [1]
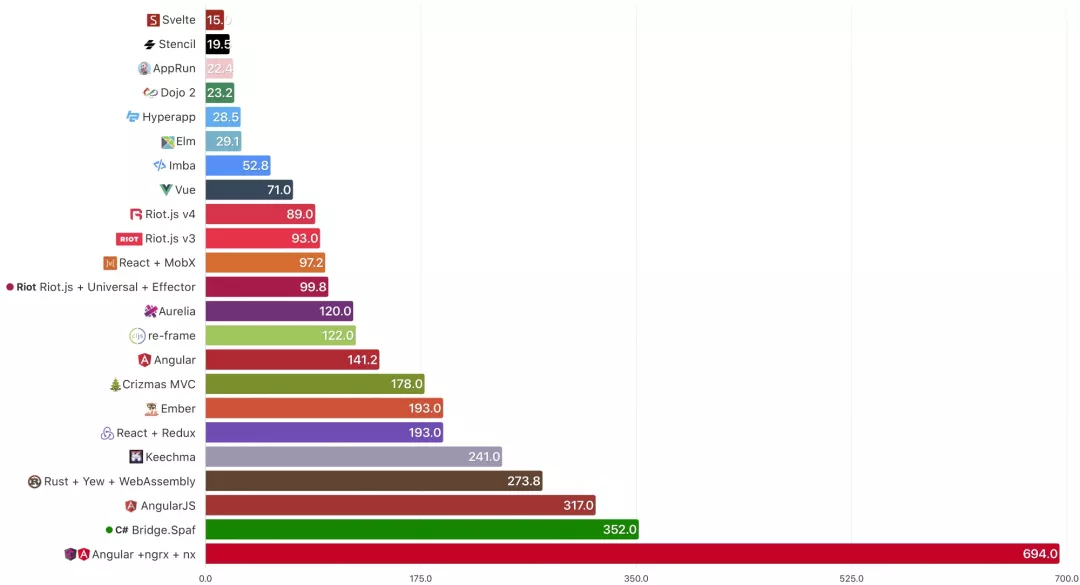
对比各框架开发的项目的尺寸
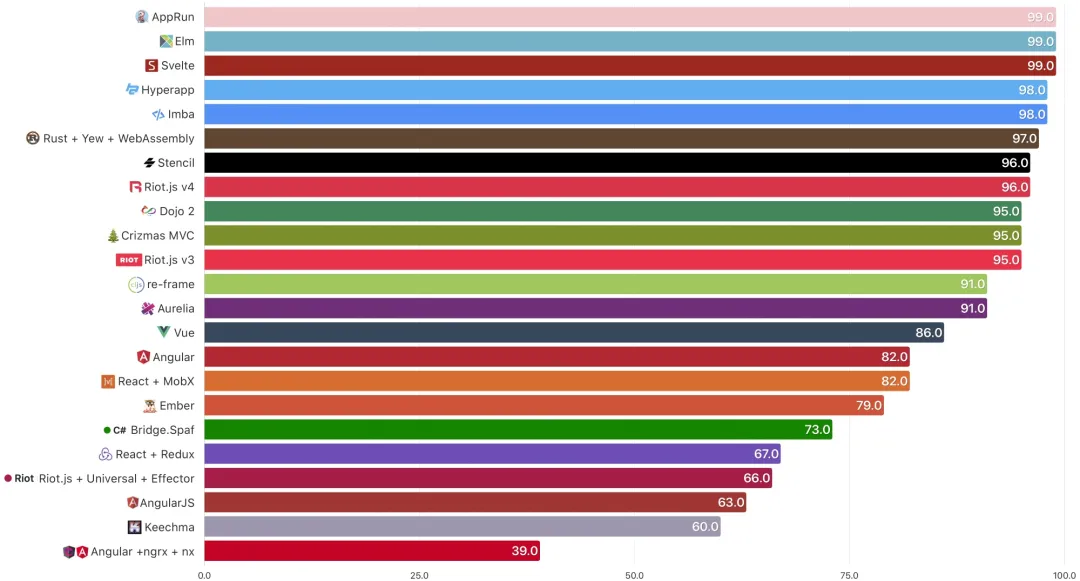
对比各项目的 Lighthouse 性能评分
说实话属实有点惊讶到我。 ** 真的假的?
于是我抱着试试就试试的心态来做个评测人
关于虚拟DOM
svelte 的作者 Rich Harris 在一篇名为《虚拟DOM纯粹是开销》 [2] 的文章中指出,为什么不使用虚拟dom
虚拟dom的三个步骤
- 两个快照都包含一个元素。在两种情况下都是
<div>,这意味着我们可以保留相同的DOM节点 - 我们列举了新旧属性上的所有属性,
<div>以查看是否需要更改,添加或删除任何属性。在这两种情况下,我们都有一个属性-aclassName的值为"greeting" - 下降到元素中,我们看到文本已更改,因此我们需要更新真实的DOM
而 svelte 直接跳过前面两步,直接执行第三步
if (changed.name) {
  text.data = name;
}
这几乎就是Svelte生成的更新代码。与传统的UI框架不同,Svelte是一种编译器,它在构建时就知道应用程序中的情况如何变化,而不必等着在运行时进行工作。
业内大牛如何看待 svelte
vue 的作者尤雨溪,在知乎回答了个 《如何看待 svelte 这个前端框架?》 [3] 问题

“svelte 的核心思想在于 通过静态编译来减少框架运行时的代码”
关于 UI
我觉着这两个ui还是比较不错的
Material UI
https://github.com/hperrin/svelte-material-ui
SVELTESTRAP
https://github.com/bestguy/sveltestrap
svelte 与其他框架
老严闲来的时候找到了 一个叫做 Realworld 存储库中有24种conduit实现As ,也就是用来对比性能的以及大小的;
今天一起来对比一下 vue/react/svelte 这三个框架的
- 项目打包后压缩包大小
- 项目网页性能分析对比
vue:https://github.com/gothinkster/vue-realworld-example-app
react:https://github.com/gothinkster/react-redux-realworld-example-app
svelte:https://github.com/sveltejs/realworld
感兴趣的同学也可以看看其他框架 https://github.com/gothinkster/realworld
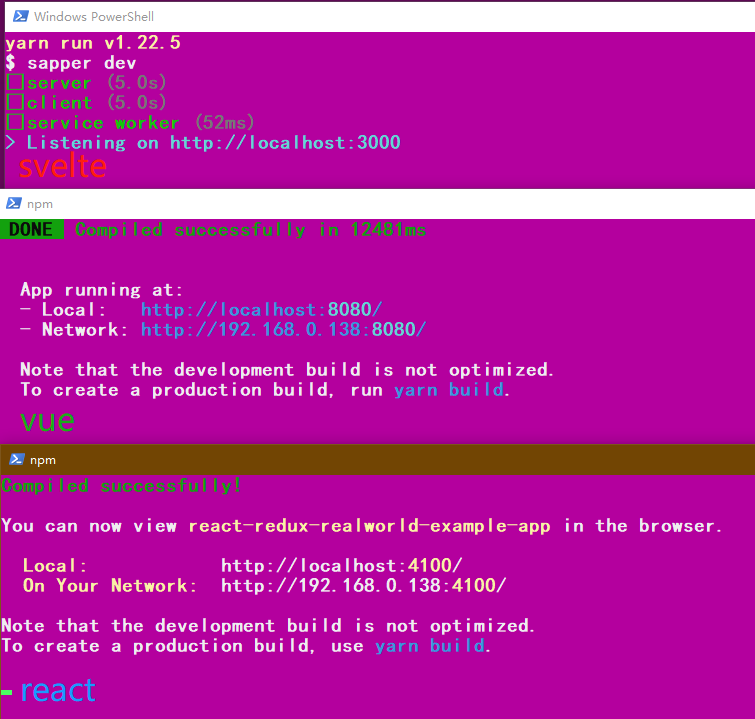
开始打包
这三个项目,打包顺序基本上在同一时间执行 npm run build,svelte 直接在我我眨眼的一瞬间打完包 ,啪 很快啊 (有点夸张~几秒钟)
静静的等待vue和react同时打包完之后,我开始进行统一压缩静态文件,压缩格式为zip
对比大小
排名如下
- svelte — 89.9 KB
- vue — 483 KB
- react — 490 KB
果然差距还是确实如传说一样恐怖
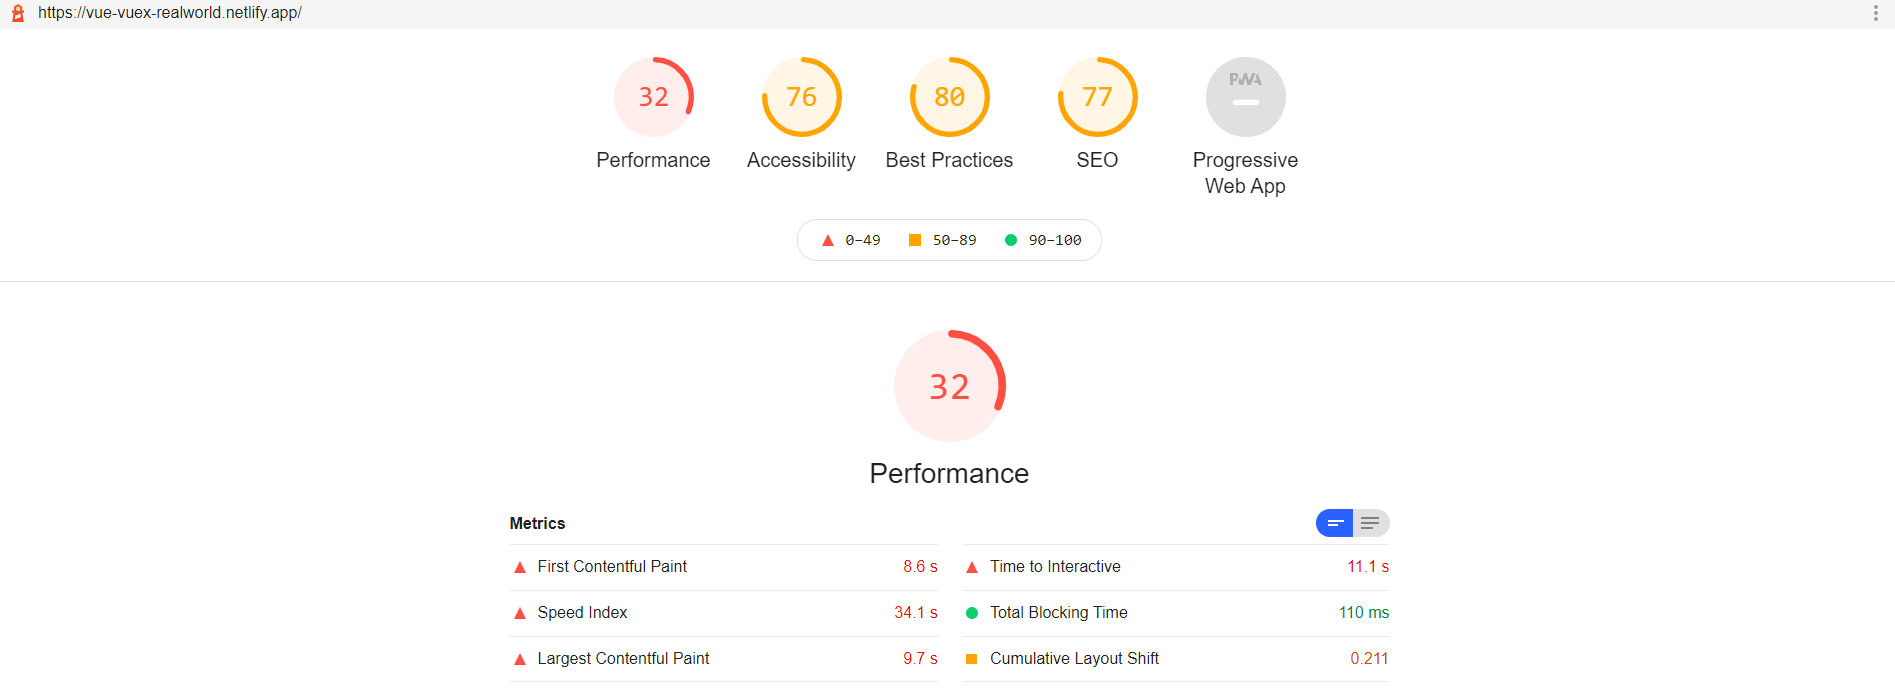
性能考核
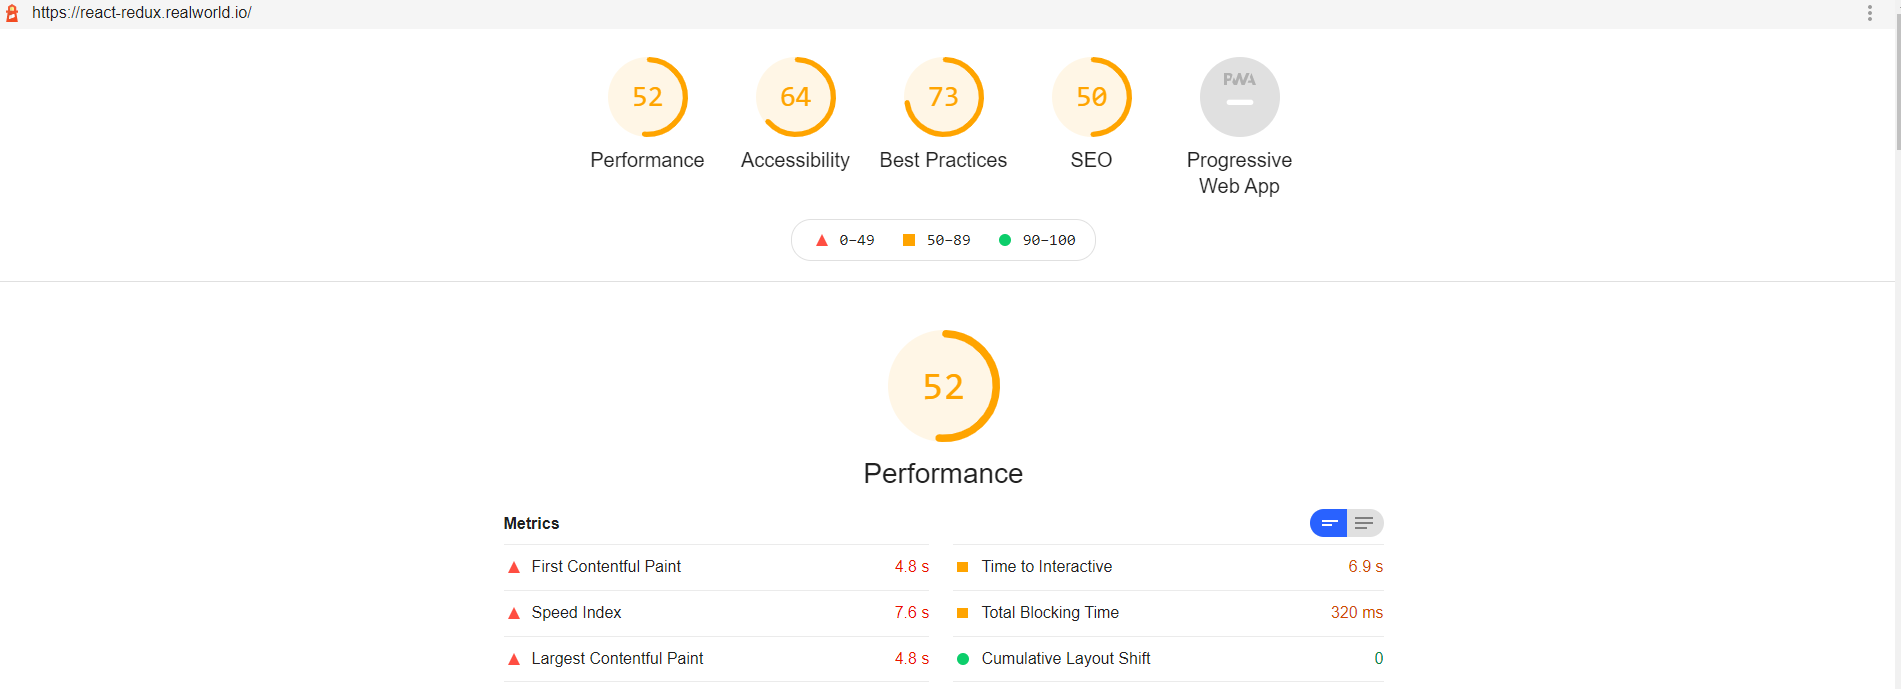
严老湿本次使用 Chrome 的 Lighthouse (谷歌网页性能分析工具) 来对比性能评分
全局安装 lighthouse
npm install -g lighthouse
执行 (直接使用的对应的线上地址)
lighthouse https://realworld.svelte.dev/
这是我在下面所测试的截屏
vue
react
svelte
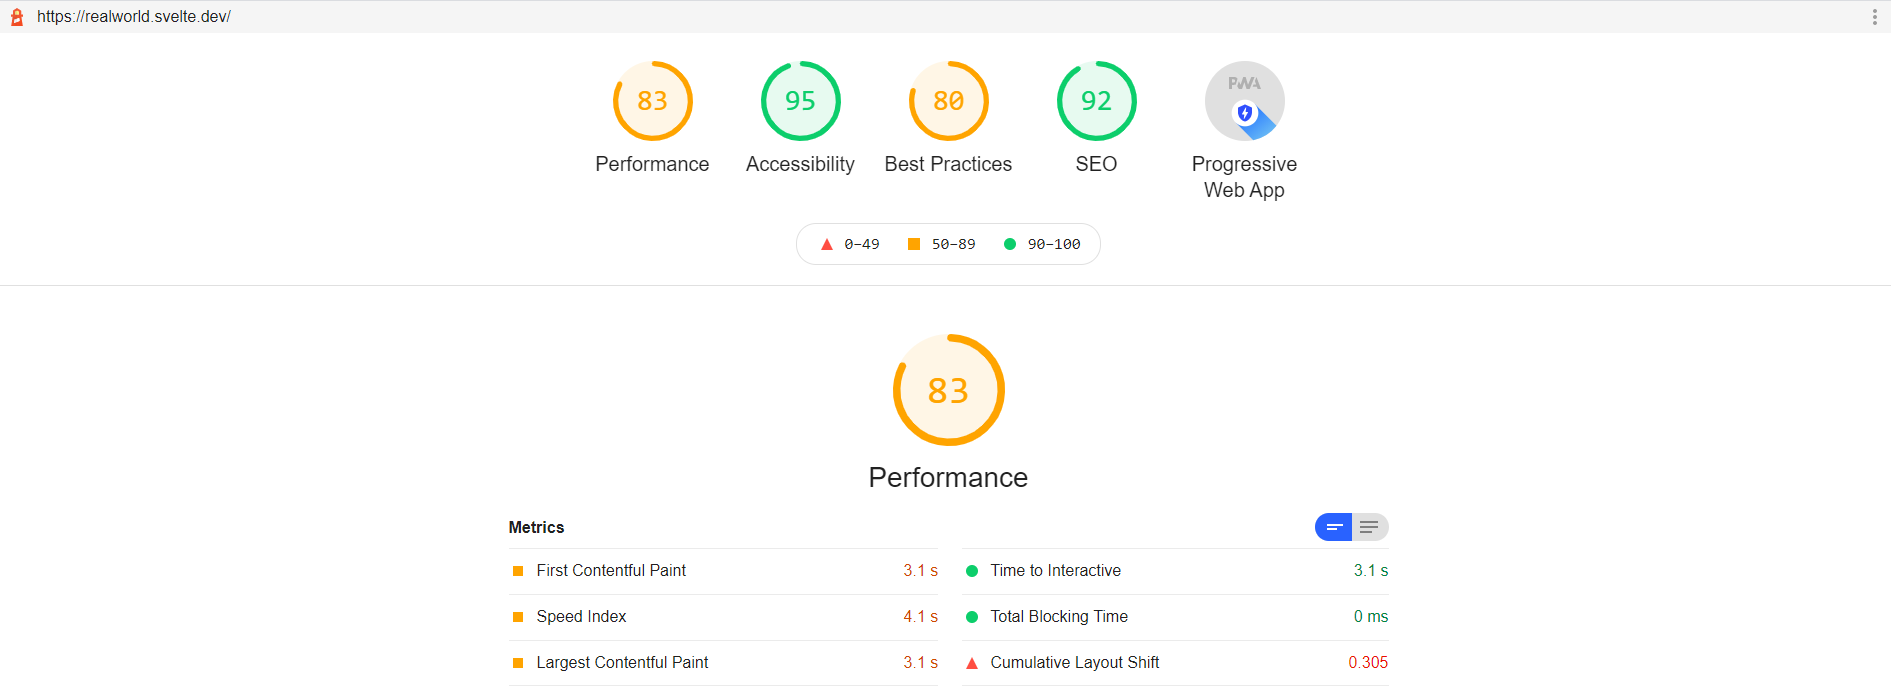
对比性能
性能得分排名如下:
- svelte — 83
- react — 52
- vue — 32
svelte 也是不负众望 稳居第一
使用 svelte 模板
看到上面,天天被逼着做性能优化的同学,激动起来了 ~ 那我们一起来简单学习一下这个性能强悍的 svelte 吧
svelte 模板 [4] ,我们直接使用一个模板来开工
git clone https://github.com/sveltejs/template
&
cd template-master
下载依赖
yarn install
or
npm install
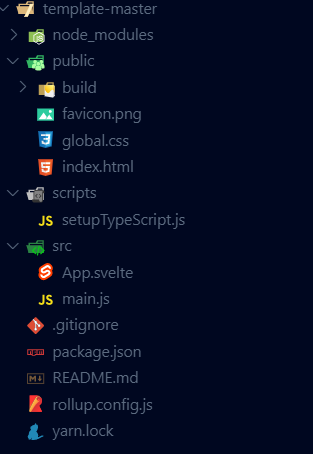
下载完成之后,我们看看目录。老严的评价就是 简洁
启动项目
yarn dev
or
npm run dev
启动完成之后
  Your application is ready~! �

  - Local:      http://localhost:5000
  - Network:    Add `--host` to expose
打开页面
地址栏输入 http://localhost:5000
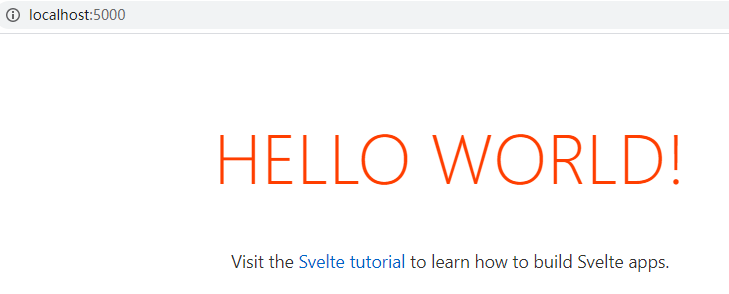
我们可以看到这样的一个页面 hello world
安装ui
这里我们使用 sveltestrap
npm install --save sveltestrap
npm install --save bootstrap
在 main.js 中引入
import 'bootstrap/dist/css/bootstrap.min.css';
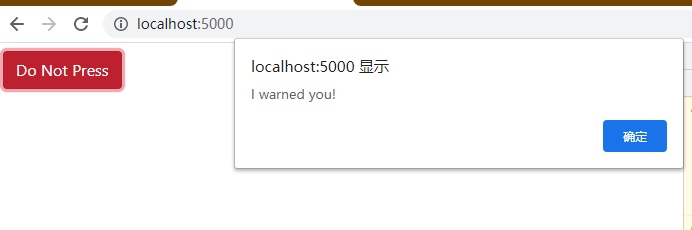
在页面中引入组件
<script>
	import { Button } from "sveltestrap";
	const handleClick = () => alert("I warned you!");
</script>

<Button color="danger" on:click={handleClick}>Do Not Press</Button>
简单了解语法
在学习之前我觉得有必要简单了解一下其语法
绑定数据
在 vue 中我们的变量需要写在 data 中 ,而 svelte 语法更加贴合原生
<!-- vue -->
data() {
	return {
		name: 'hhh',
	};
}

<div>{{name}}</div>
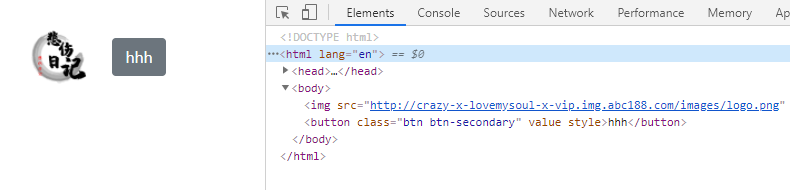
svelte 绑定数据 ,svelte 动态绑定需要加上 {}
<script>
	import { Button } from "sveltestrap";
	// 定义数据
	let name = "hhh";
	let src = 'http://crazy-x-lovemysoul-x-vip.img.abc188.com/images/logo.png';
</script>
<!-- 绑定数据 -->
<!-- 如果kv一致只用写一个 -->
<img {src} alt="">
<Button>{name}</Button>
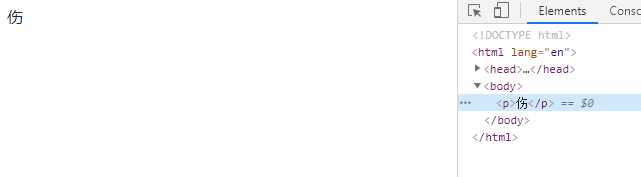
条件渲染
vue 中有条件渲染 v-if v-else-if v-else ,svelte 也有
<script>
	let condition = 1;
</script>
{#if condition == 2}
	<p>悲</p>
{:else if condition == 1}
	<p>伤 </p>
{:else if condition == 0}
	<p>日</p>
{:else}
	<p>记</p>
{/if}
循环渲染
循环渲染列表
<script>
    // 定义变量
	let news = [
        { id: 1, title: '拜登呼吁必须停止把对手当敌人' },
        { id: 2, title: '江苏响水致78死爆炸案一审宣判' },
        { id: 3, title: '嫦娥五号将择机实施月面软着陆' }
    ];
</script>


<ul>
    <!-- 有没有点 ejs的感觉 -->
	{#each news as {title}}
		<li>
			<a href="https://www.baidu.com/s?rsv_idx=1&wd={title}">
				{title}
			</a>
		</li>
	{/each}
</ul>


<style>
	ul,li{
		list-style: none;
	}
	a{
		color: #ff3e00;
	}
</style>
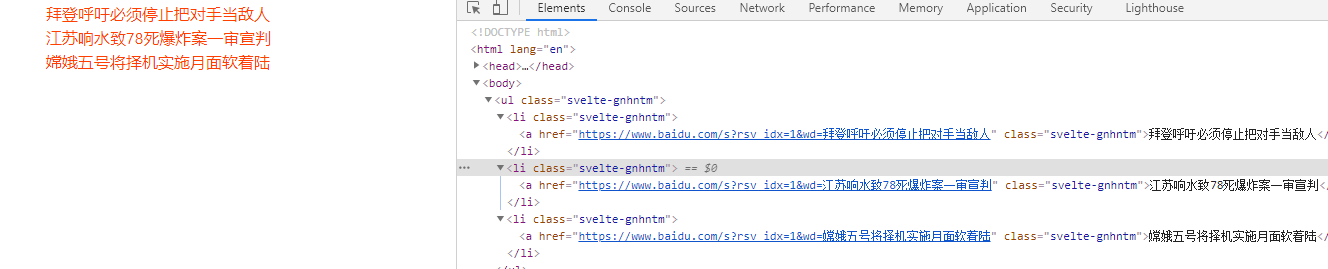
咋感觉有点像 ejs 循环渲染呢 [5]呢?
事件绑定
在 svelte 中方法直接写函数定义函数即可使用
<script>
	import { Button } from "sveltestrap";
	// 定义数据
	let name = "hhh",title = '标题';
	// 定义方法
	const handleClick = () => {
		name = "严老湿"
		title = "老严带你入坑 svelte"
	};
</script>
<!-- on:click 绑定方法  {绑定动态值}-->
<Button color="danger" on:click={handleClick}>{name}</Button>
<h1>{title}</h1>
组件
组件是框架必不可少的一个功能
来看看 svelte 中如何创建一个组件吧
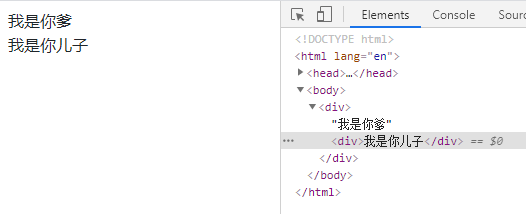
app.svelte
<script>
    // 直接引入组件即可使用 无需注册
	import Child from './components/child.svelte'
	let name = '我是你爹'
</script>

<div>
	{name}
	<Child></Child>
</div>
创建一个 child.svelte 页面
<script>
    let title = '我是你儿子'
</script>

<div>{title}</div>
那么组件有了,我们来看看组件传值吧!
传值
app.svelte
<script>
	import Child from './components/child.svelte'
	let name = '我是你爹'
	let childName = "狗剩"
</script>

<div>
	{name}
	<Child {childName}></Child>
</div>
child.svelte
<script>
    export let childName;
</script>

<div>爹给我取的名字是 {childName}</div>

刚刚我们是简单的单一传值
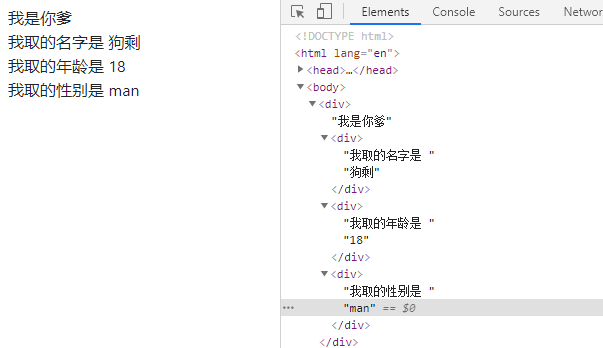
接下来我们传一个对象试试
app.svelte
<script>
	import Child from './components/child.svelte'
	let name = '我是你爹'
	let aboutMe = {
		name:'狗剩',
		age:18,
		gender:'man'
	}
</script>

<div>
	{name}
    <!-- 通过... 展开 aboutMe -->
	<Child {...aboutMe}></Child>
</div>
child.svelte
<script>
    export let name,gender,age;
</script>

<div>我取的名字是 {name}</div>
<div>我取的年龄是 {age}</div>
<div>我取的性别是 {gender}</div>
那这多费劲呐?还需要一个个接收。有一话叫存在即合理
动画
在官方 api 中提到 svelte 提供了一些动画效果出来给大家使用
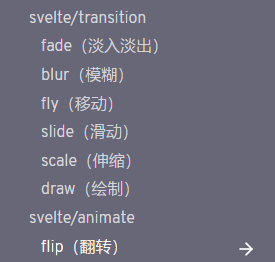
我们直接使用官方示例 淡入淡出动画
<script>
	import { fade } from 'svelte/transition';
	let visible = true;
</script>

<label>
	<input type="checkbox" bind:checked={visible}>
	visible
</label>

{#if visible}
	<p transition:fade>
		Fades in and out
	</p>
{/if}
生命周期
在 svelte 中的生命周期有onMount 、beforeUpdate 、afterUpdate 、afterUpdate 下面老严依次给大家伙列出来
onMount (挂载后)
该
onMount函数作为将component挂载到DOM后立即执行的回调。它必须在component初始化期间被调用(但不必位于component内部;可以从外部模块调用它)。<script> import { onMount } from 'svelte'; onMount(() => { console.log('the component has mounted'); }); </script>如果需要
onMount返回一个函数,则在卸载 component 时调用该函数。<script> import { onMount } from 'svelte'; onMount(() => { const interval = setInterval(() => { console.log('beep'); }, 1000); return () => clearInterval(interval); }); </script>beforeUpdate (更新前)
beforeUpdate任何状态更改后组件更新之前,回调函数会立即运行。第一次回调运行将在初始onMount之前.<script> import { beforeUpdate } from 'svelte'; beforeUpdate(() => { console.log('the component is about to update'); }); </script>afterUpdate (更新后)
afterUpdate在组件更新后立即运行回调<script> import { afterUpdate } from 'svelte'; afterUpdate(() => { console.log('the component just updated'); }); </script>onDestroy(销毁后)
在组件卸载后运行回调。在onMount、beforeUpdate、afterUpdate和onDestroy中,这是唯一一个在服务器端组件中运行的组件。
<script>
    import { onDestroy } from 'svelte';

    onDestroy(() => {
        console.log('the component is being destroyed');
    });
</script>
案例
老严逛着逛着 正好看到一个 官方示例的 to do list 本来还想着说带大家做,那既然有现成的,将就一下
没有什么框架是写一个 todolist 还学不会的 ,老严在代码里面也加了一些代码注释
因为样式代码 太多,我们先上效果图再看代码
<script>
	import { quintOut } from 'svelte/easing';
	import { crossfade } from 'svelte/transition';
	import { flip } from 'svelte/animate';
	// 动画
	const [send, receive] = crossfade({
		duration: d => Math.sqrt(d * 200),

		fallback(node, params) {
			const style = getComputedStyle(node);
			const transform = style.transform === 'none' ? '' : style.transform;
			return {
				duration: 600,
				easing: quintOut,
				css: t => `
					transform: ${transform} scale(${t});
					opacity: ${t}
				`
			};
		}
	});

	let uid = 1;
	// 默认数据
	let todos = [
		{ id: uid++, done: false, description: 'write some docs' },
		{ id: uid++, done: false, description: 'start writing blog post' },
		{ id: uid++, done: true,  description: 'buy some milk' },
		{ id: uid++, done: false, description: 'mow the lawn' },
		{ id: uid++, done: false, description: 'feed the turtle' },
		{ id: uid++, done: false, description: 'fix some bugs' },
	];
	// 新增待办
	function add(input) {
		const todo = {
			id: uid++,
			done: false,
			description: input.value
		};

		todos = [todo, ...todos];
		input.value = '';
	}
	// 删除方法
	function remove(todo) {
		todos = todos.filter(t => t !== todo);
	}
	// 选中方法
	function mark(todo, done) {
		todo.done = done;
		remove(todo);
		todos = todos.concat(todo);
	}
</script>

<div class='board'>
    <!-- 点击回车执行add  -->
	<input
		placeholder="what needs to be done?"
		on:keydown={e => e.which === 13 && add(e.target)}
	>
	<!-- 代办 -->
	<div class='left'>
		<h2>todo</h2>
		{#each todos.filter(t => !t.done) as todo (todo.id)}
			<label
				in:receive="{{key: todo.id}}"
				out:send="{{key: todo.id}}"
				animate:flip
			>
				<!-- 选中代表已做完 -->
				<input type=checkbox on:change={() => mark(todo, true)}>
				{todo.description}
				<!-- 删除 -->
				<button on:click="{() => remove(todo)}">remove</button>
			</label>
		{/each}
	</div>
	<!-- 已完成 -->
	<div class='right'>
		<h2>done</h2>
		{#each todos.filter(t => t.done) as todo (todo.id)}
			<label
				class="done"
				in:receive="{{key: todo.id}}"
				out:send="{{key: todo.id}}"
				animate:flip
			>
				<!-- 修改状态为代办 -->
				<input type=checkbox checked on:change={() => mark(todo, false)}>
				{todo.description}
				<!-- 删除 -->
				<button on:click="{() => remove(todo)}">remove</button>
			</label>
		{/each}
	</div>
</div>

<style>
	.board {
		display: grid;
		grid-template-columns: 1fr 1fr;
		grid-gap: 1em;
		max-width: 36em;
		margin: 0 auto;
	}

	.board > input {
		font-size: 1.4em;
		grid-column: 1/3;
	}

	h2 {
		font-size: 2em;
		font-weight: 200;
		user-select: none;
		margin: 0 0 0.5em 0;
	}

	label {
		position: relative;
		line-height: 1.2;
		padding: 0.5em 2.5em 0.5em 2em;
		margin: 0 0 0.5em 0;
		border-radius: 2px;
		user-select: none;
		border: 1px solid hsl(240, 8%, 70%);
		background-color:hsl(240, 8%, 93%);
		color: #333;
	}

	input[type="checkbox"] {
		position: absolute;
		left: 0.5em;
		top: 0.6em;
		margin: 0;
	}

	.done {
		border: 1px solid hsl(240, 8%, 90%);
		background-color:hsl(240, 8%, 98%);
	}

	button {
		position: absolute;
		top: 0;
		right: 0.2em;
		width: 2em;
		height: 100%;
		background: no-repeat 50% 50% url("data:image/svg+xml,%3Csvg xmlns='http://www.w3.org/2000/svg' viewBox='0 0 24 24'%3E%3Cpath fill='%23676778' d='M12,2C17.53,2 22,6.47 22,12C22,17.53 17.53,22 12,22C6.47,22 2,17.53 2,12C2,6.47 6.47,2 12,2M17,7H14.5L13.5,6H10.5L9.5,7H7V9H17V7M9,18H15A1,1 0 0,0 16,17V10H8V17A1,1 0 0,0 9,18Z'%3E%3C/path%3E%3C/svg%3E");
		background-size: 1.4em 1.4em;
		border: none;
		opacity: 0;
		transition: opacity 0.2s;
		text-indent: -9999px;
		cursor: pointer;
	}

	label:hover button {
		opacity: 1;
	}
</style>
当你可以手动写出这个todolist的时候,你就已经出师了,因为老严也就这点能耐 哈哈
最后代码,我提交到了git 有需要的同学可以去下载噢
注解
[0] https://zhuanlan.zhihu.com/p/97825481
[2] https://svelte.dev/blog/virtual-dom-is-pure-overhead
[3] https://www.zhihu.com/question/53150351
[4] https://github.com/sveltejs/template
[5] https://ejs.bootcss.com/#docs
参考文献
以上皆为 悲伤日记 文章发布平台
Copyright © 2020-2021 @CrazyMrYan